Configuring the Performance Monitor
First Logon to the Performance Monitor
After a successful installation, start the Performance Monitor with the program icon under Programs or with the start icon on your desktop. The system first displays the logon to the performance monitor (PM). Enter the Customer Token and Authentication Token configured by Hypersoft and confirm your entry. The system will then create a local profile on your mobile device.
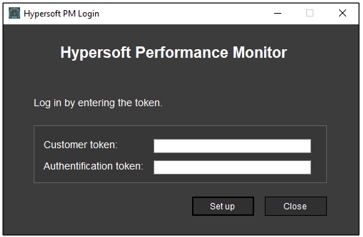
Setup Performance Monitor
After creating the local profile you get to the Program Setup Menu:
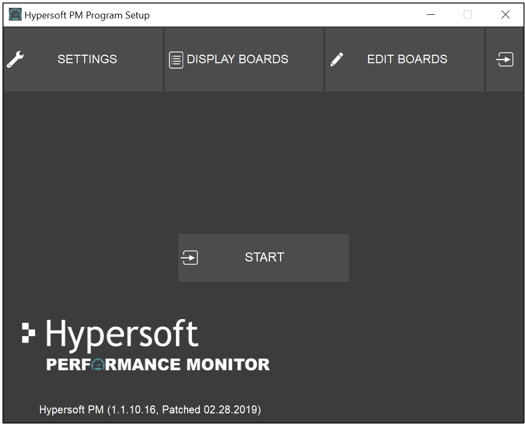
Select Settings from the upper menu bar to access the Store settings. Here you can set up your personal store.
.pmset file as template...
You can transport the configuration as an administrator/installer with one data and use it in other locations. Transport between the head office and the site is not supported.
If you have a valid .pmset file, you can load it into the PM via the dialog box and confirm the loaded settings. Otherwise an equivalent manual preparation of the PM is necessary.

| Element / Switch | Function / Description |
|---|---|
| Branch name | Enter the name of your store here. This is displayed on each board in the PM. |
| Employee prefix |
Enter a prefix for employees here. The prefix entered is displayed on the corresponding employee boards in PM if the employee is not yet known to PM. Instead of the personal name, the prefix is then displayed in combination with the employee number. Under the "Employee" function, you can assign aliases to known employees if you do not want them to display their personal names. Be aware of the Data Protection Ordinance and all rights and laws relating to personal data. |
| Left / Right Logo | Here you can select which logo should be displayed in the upper tab of the PM. Both the common image formats (.bmp,.jpg,.jpeg,.png) and animations (.gif) are supported. |
| reset time | This setting is the reset time of the Performance Monitor. At this point, the transferred values are reset. |
| Data refresh | Specify an interval in minutes after which the sales data is to be loaded and updated. |
| Show 0 value cancellation | Activate this option if the business offsetting entries are to be included in the calculation. |
| Settings PIN | Set a 4-digit PIN code here to protect the Performance Monitor from unwanted access during operation. |
Creating the Boards
Select Edit Boards from the upper menu bar to open the Board Editor.
In this area new boards can be created or existing boards can be edited. Here it is possible to load already existing board settings with a valid .pmboard file, as with the store settings.
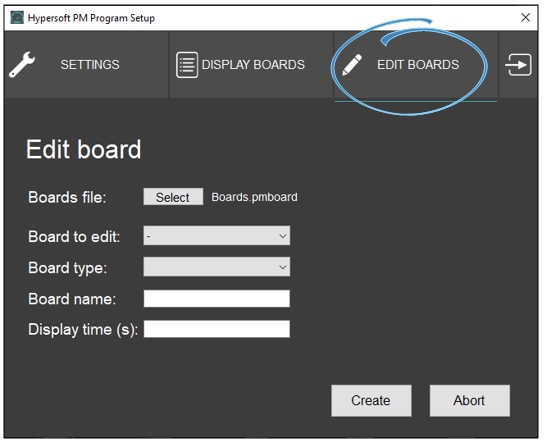
| Element / Switch | Function / Description |
|---|---|
| Board to edit | In this drop-down menu, you can select a board, if one exists, which you want to edit. |
| Board type |
Depending on the board type you have selected under Board type, various other control elements are displayed. See below the Board Types. |
| Board name | Enter the desired name for the board here. This is displayed as a heading in the PM. |
| Display time | Enter here a time in seconds how long the current board should be displayed. |
Item/Extras groups Board...

Here you can select the specific item groups that are to be taken into account when processing the sales data for the board. Item groups are defined using the Item group filter function in the item master.
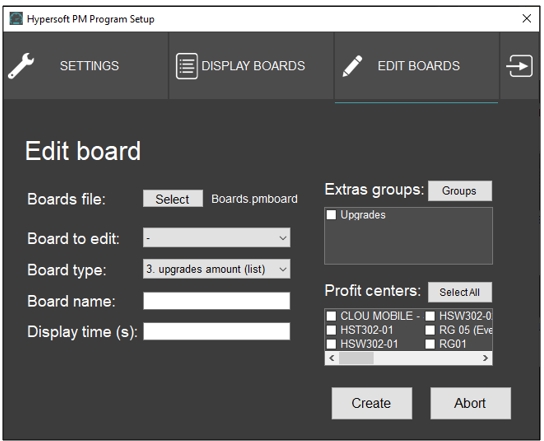
The selection of the groups for the present board is then done with the checkbox at the respective group name and is confirmed with Submit:

With Profit Center, you select the profit centers to be considered on this board, Select all for all.
Images Board...
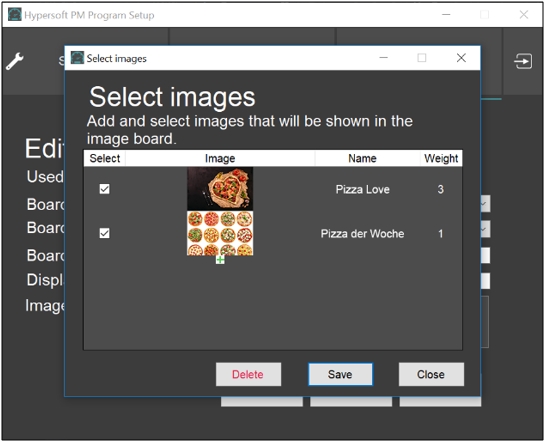
Here you can select graphics to be displayed on the corresponding board. Press the Images button to go to the image selection screen. Selecting the plus symbol opens a dialog with which the desired graphic can be loaded into the PM. In addition, a desired weighting for each image can be set here. The weighting determines how many passes a graphic should be displayed before switching to the next graphic. For example, so that you don't have to look at all 20 selected images until the next board appears (e.g. information about sales come again), only one image per run is displayed. The weighting means, for example, that the important monthly meal is displayed more often than an unimportant picture, e.g. "10 x monthly cocktail" and "1 x do not forget to wash your hands".
In the Select column, select the images to be displayed and confirm your setting:
Gross sales Volume Board...
For boards with a note (total), you can create and select Goals daily targets to be displayed in the corresponding board. To do this, press the Goalscontrol element to go to the selection screen. One goal can be set per weekday. In the Select column, select the days on which the corresponding day destinations are to be displayed and confirm your settings.

Currency Volume Board...
For payment boards, you can select which payments of the total turnover should be highlighted in the corresponding board. To do this, press the Selectcontrol to go to the selection screen. After selection, you must select a suitable name for the displayed payments under Group name.
Back to the parent page: Performance Monitor